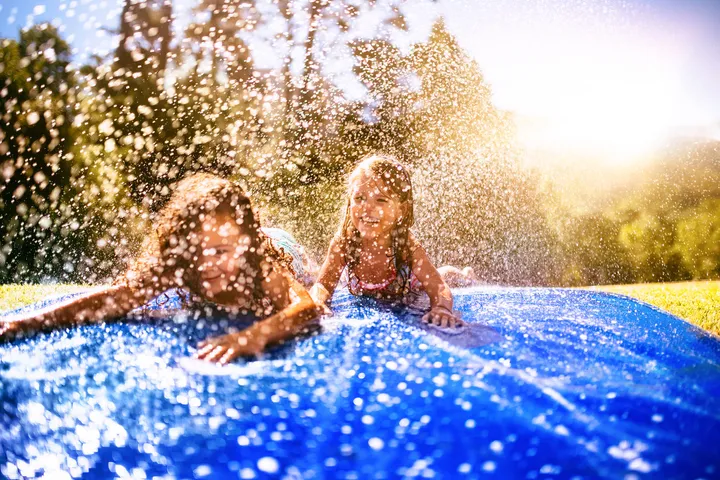
After some fabulous summer fun? Nothing beats a water slide. A total magnet for children, they bring hours of joy from all the slipping, sliding, laughing and shrieking. Plus, they’re easy to make, don’t cost much and are yours to craft in whatever length or width you fancy.
For tots, try a gentle slope with a short run, and, if you’re hosting older kids, extend it out. Either way, it’s worth keeping some extra length and folding your slide back in on itself, as you can roll it back up for the next year, and the years after.
When your children are involved in making their water slide, they’ll also get a great sense of achievement and pride – a lovely extra bonus to go with your hours of sun-scattered play.
The perfect spot for your slide is a small hill with enough flat space to get a running start at the top and enough space at the bottom to come to a gentle halt. But don’t despair if your garden is flat – you should get enough momentum for a good slide.
And of course, you’ll need to position your slide close enough to the garden hose.
Before you get going, here's what you'll need:
- Plastic sheeting
- Pool noodles and velcro for the sides, if required
- Garden staples or tent pegs (and something to bash them right into the ground)
- Brightly coloured coloured duct tape
- Bio washing-up liquid (for extra slipperiness if needed)
- A non-leaky garden hose, ideally with a sprinkler head
Measure the ideal length and width of your slide. Get your children to help hold the measuring tape and write down the measurements. Remember to leave enough for the end so you slow down on the plastic, not bumping along in mud. It's also a good idea to have enough plastic to fold over the top twice or more to reinforce against tears at the beginning of the slide which will get the most pull when sliders run and jump onto it.
Buy your thick plastic from DIY hardware stores like Homebase or B&Q. The plastic should be at least 6mm thick for maximum durability (and comfort!). Black plastic will absorb heat from the sun, but given the summer we're having so far that may be less of a concern.
Together roll out the plastic and pull out creases.
4. You can add buffers to the sides if you want by wrapping foam pool noodles (the long swimming pool floats) in the plastic and securing them with velcro strips.
5. Stake down the plastic with U-shaped garden staples, pulling it taut before staking and removing any stones or sharp objects. Make sure the staples don't protrude. Cover each staple with duct tape. It's a good idea to use a bright colour, so children can avoid stepping on or sliding on them.
6. Start the hose and (if you want, add a liberal application of washing-up liquid). Wet the whole length, then keep the hose going at the beginning of the slide.
7. Ready, steady, slide!
Insist on just a few rules:
- No standing on the slide, especially if you're an adult. You'll fall.
- Sliding two at a time is fun, but only if there is enough width to avoid flailing limbs and elbows, and children are similar size. You may decide it's not worth the stress.
SEE ALSO:
7 Natural Wonders That Will Impress Your Kids
The Moments That Remind Us How Fun Parenting Is